Pimp your Powerpoint
This post provides some hands-on tips for your next presentation, with focus on images and code.
Images in the presentation
Where to find good images
One thing to think about when it comes to images from the web is that there might be a copyright. Using such images for commercial purposes can get you into legal trouble.
There are at least two good sources that provide plenty images for free:
A picture says more than thousand words! Indeed, a suitable image can help you to convey your message. Apart from that, images are more entertaining than a lot of text during your presentation.
Stretching the image
Of course, one could simply use the image as-is and paste it into the slide. However, this often looks quite sloppy, it seems that the presenter did not have time or did not put much effort into the presentation.
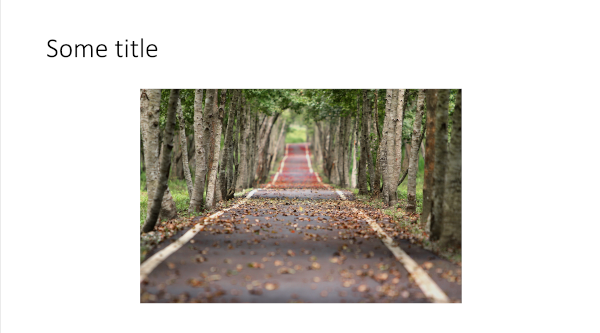
Therefore, it can be a good idea to stretch the image so that it covers the whole slide.

How to do it:
- Insert the image in to the slide
- Left-click on the image, so that it is marked
- Drag the image at the edges until it fits the whole slide
Vertically aligned images
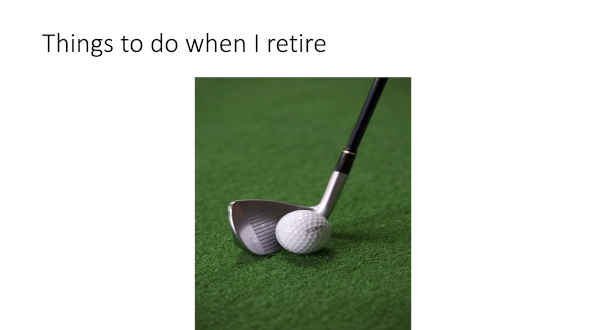
Handling images that are vertically aligned can be a bit more tricky to stretch. At first, let’s see how the original image looks like:
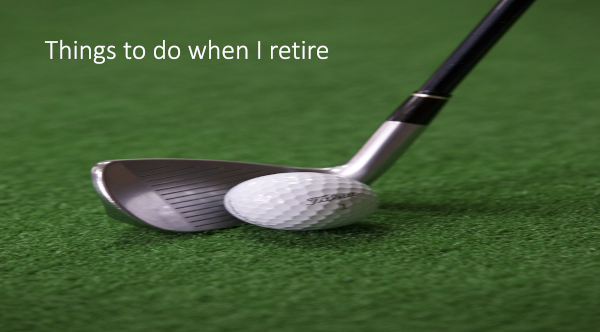
As you can see the stretched version looks a bit strange and surreal which is probably not what you wanted.
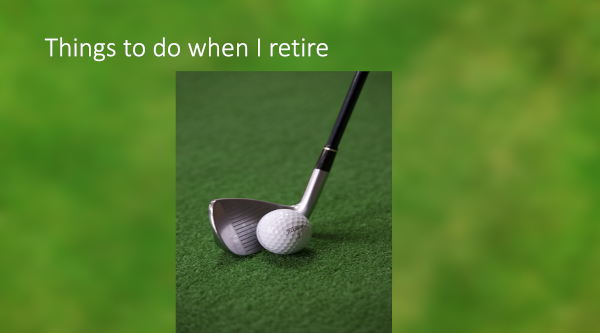
One solution can be to put another image behind your actual image. Then you can stretch the background image and make it, for example, a bit blurry.
In that way you do not need to stretch your image and you can guide your audience to focus on the relevant things:
How to do it:
- Insert a suitable background image
- Stretch it to fit the whole slide
- Make it blurry (see below in more detail)
- Place the actual image on top of it
In this example, I chose a golf theme, so a blurry green background seems kinda suitable.
Using effects
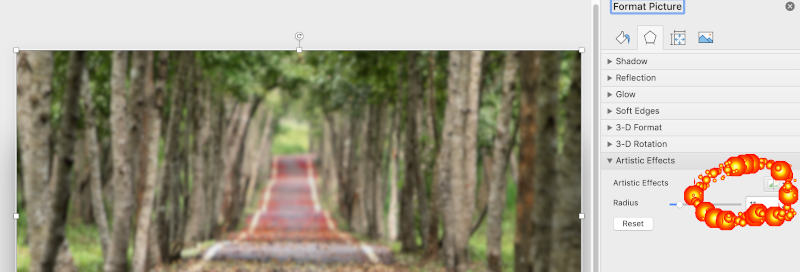
Powerpoint provides a variety of artistic effects that can be applied on images. My personal favourite is the blur effect. It makes the image look a bit fuzzy, so it gives more room for other elements on the slide, such as text:

How to do it:
- Insert a suitable background image
- Stretch it to fit the whole slide
- Right-click on the image and select
Format Picture - A new pane comes up where you can choose an artistic effect (see screenshot below)
Shapes and text on top of the image
If you want to place text on top of such a slide, it can be a good idea to place that text inside a shape. This makes the text more readable, especially if the background is quite colorful.

How to do it:
- Let’s start with the previous image that is already blurry.
- From the
Insertmenu select a shape, e. g. a rectangle and place it on the slide. - Right-click on the shape and select
Format Shape - On the right side, select
Solid filland choose a color (see screenshot below)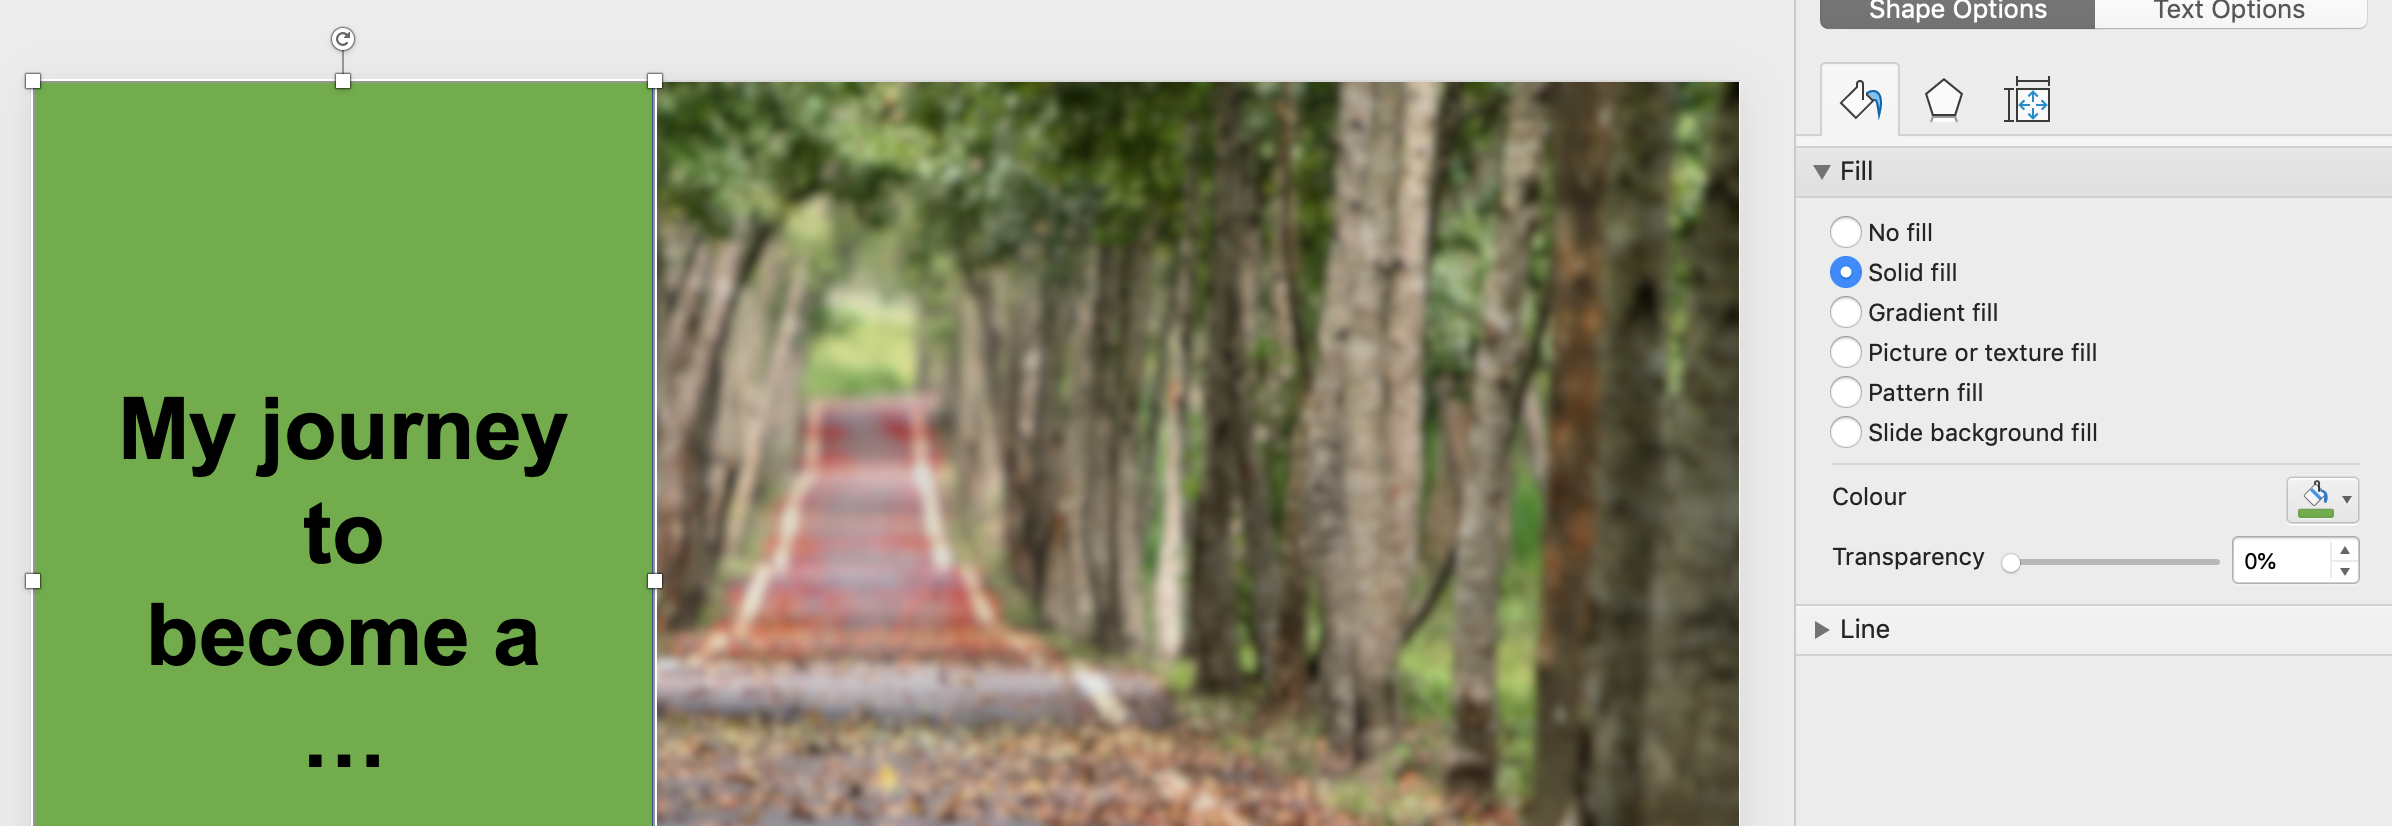
Alternatively you can make the shape’s background a bit transparent instead of solid:
![]()
Or why not use a circle instead of a rectangle?!

Showing code in your presentation
Depending of the topic of your preentation, you might want to present some code in the slides.
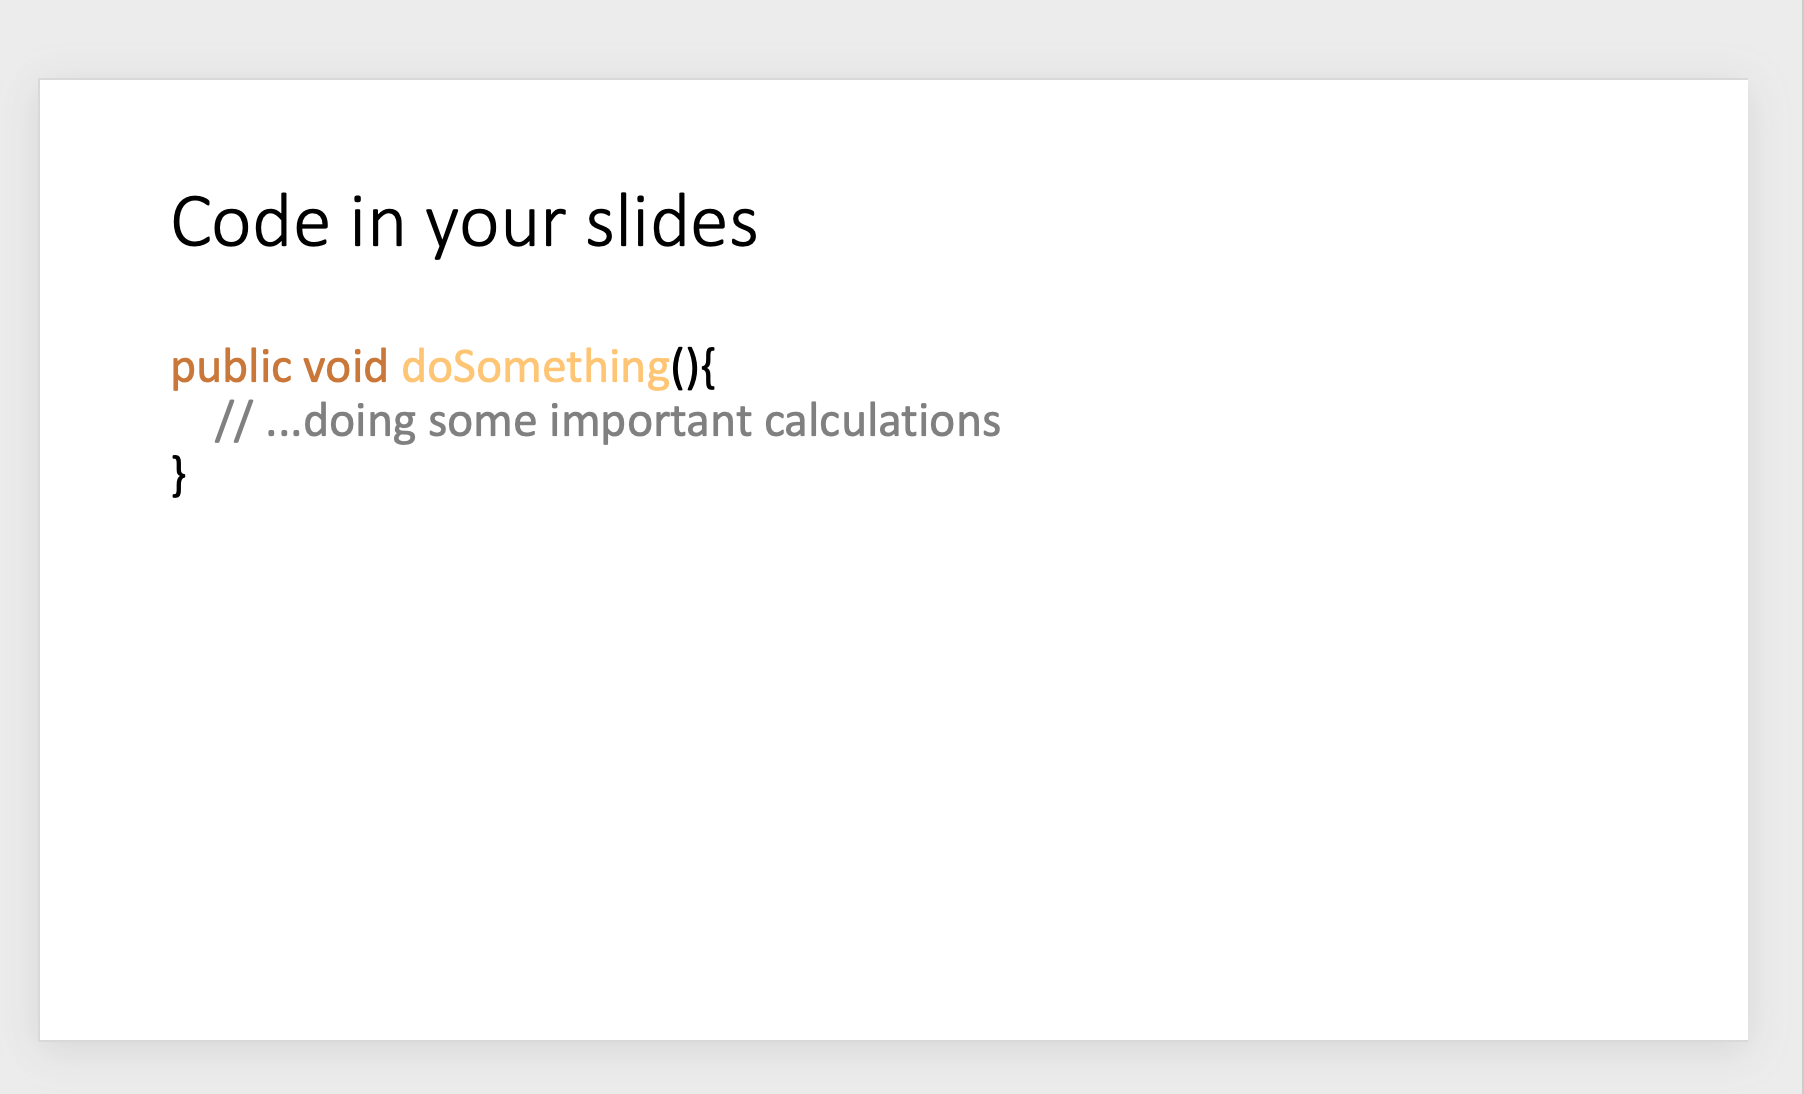
First let’s have a look at what the code looks like in the IDE.

Straightforward copy
Copy/paste might actually work okay, at least on a slide with white background.
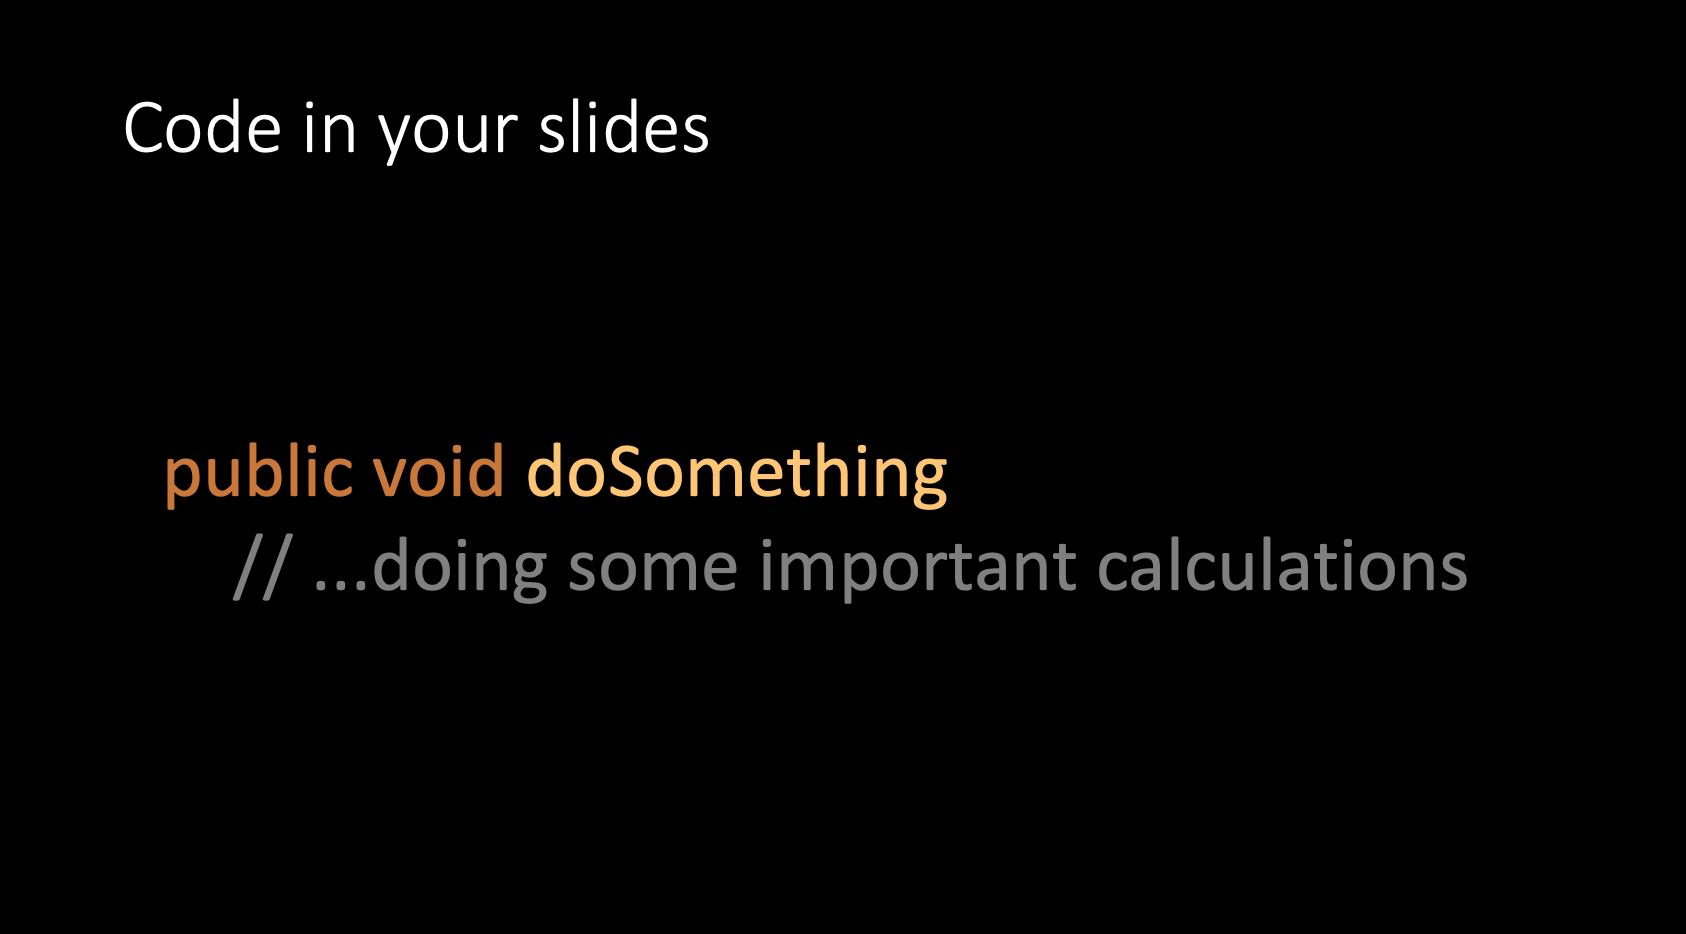
On a black background however, it looks quite bad as the curly brackets are turned to black and are not visible.
Using a syntax highlighter
If you still want to use a black background, a syntax highlighter could be helpful:
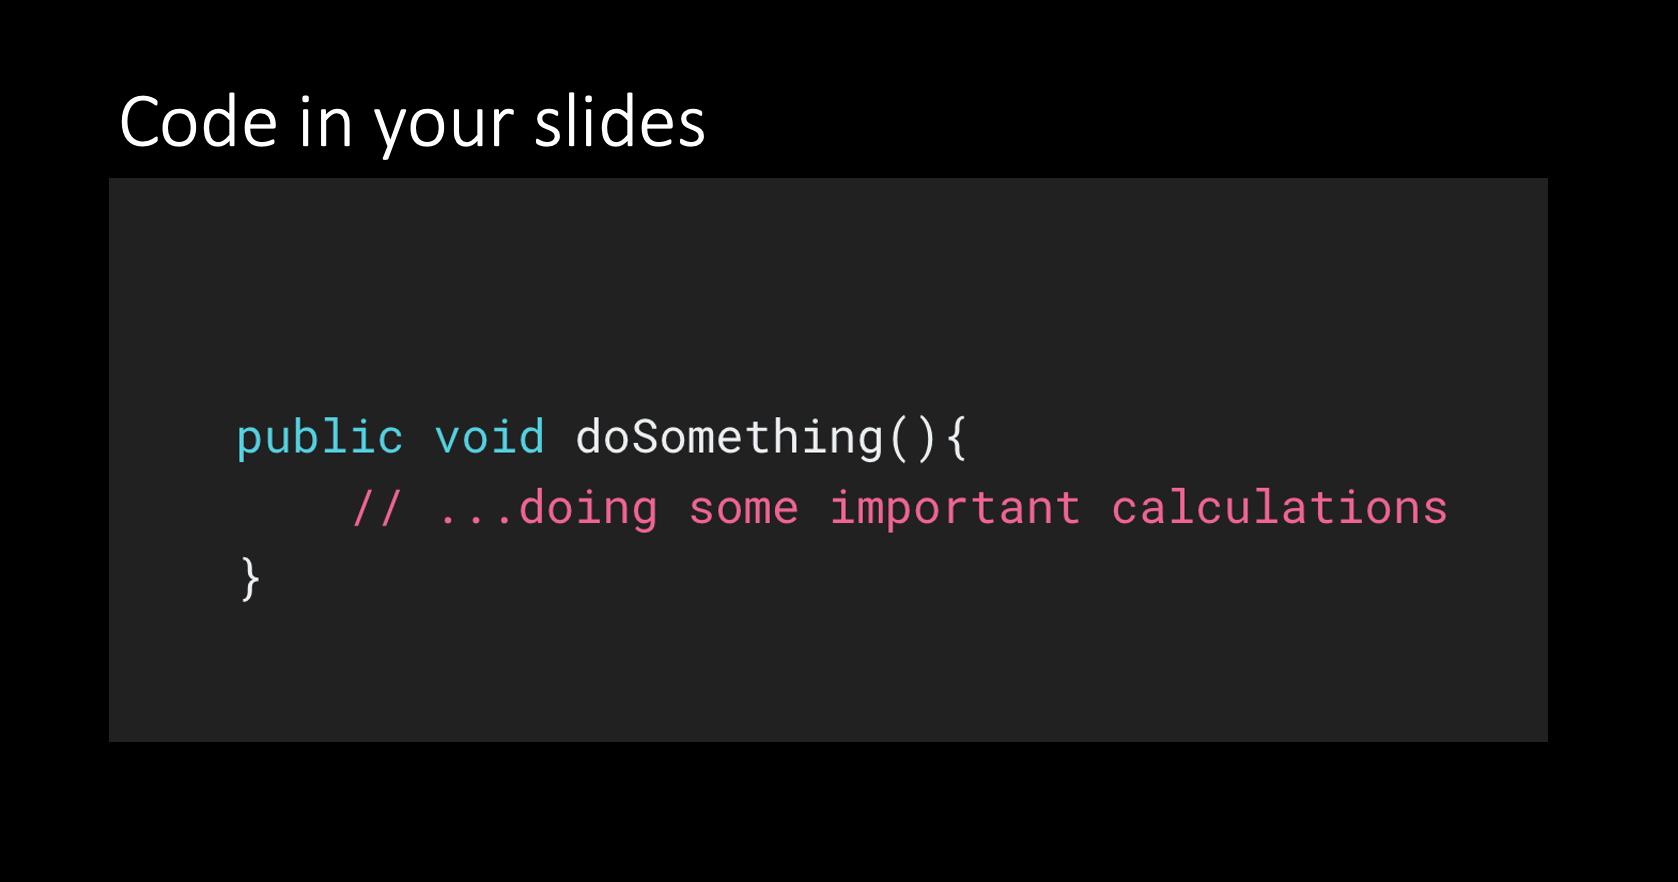
How to do it:
- Go to an online syntax highlighter (see some links below) and paste your code
- Make a screenshot of the result
- Create a slide with black background
- Insert the screenshot
Using a screencast
Another alternative is to create a screencast when writing the code and then you can insert the video in your slides.
Doing so makes the the presentation more lively (everybody likes to watch shorter clips). A downside though is that the presentation can get really large.